My Easter Nails
6:53 PM
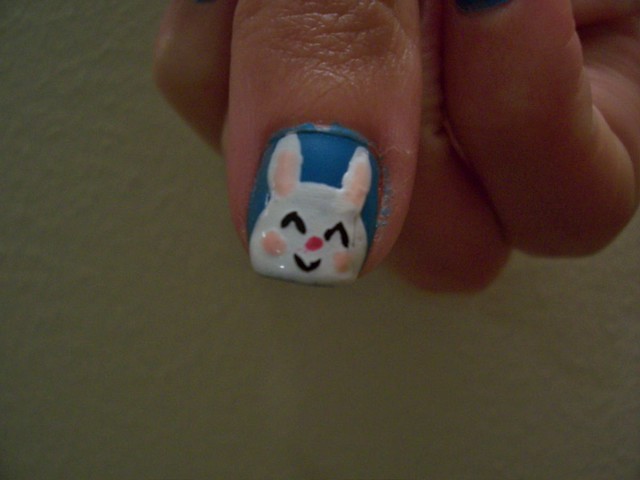
I wanted to give my bunny a kawaii look, so that's why I did the eyes, and mouth like that and gave blushes on the cheek. :)
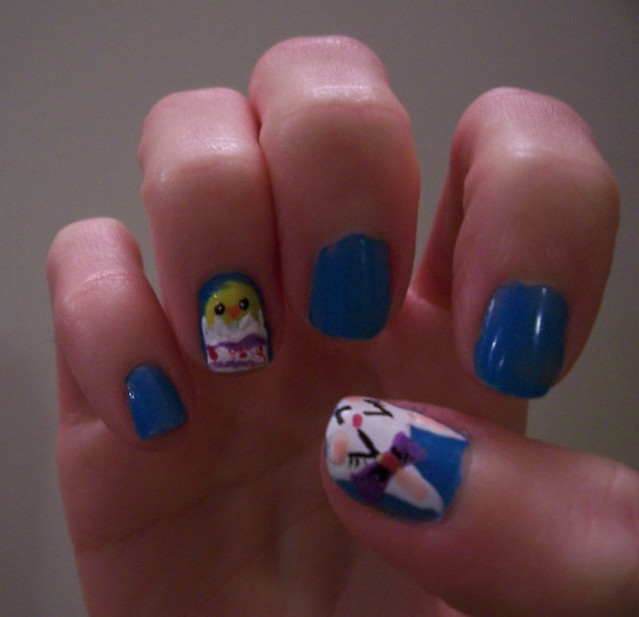
My hatched egg with the chick got ruined, because after I was done doing my nails, I collected my nail polishes to put them back in it's place and dammit, my ring finger got in contact with the nail polishes that it SMUDGED MY WORK!! UGHHHH! I was pissed! >.< Soooo that's why it looks smudged, and also because my white polish is getting clumpy. :(
I went back to re-do the cracks, but was too annoyed to re-do the whole thing, didn't have the patience.
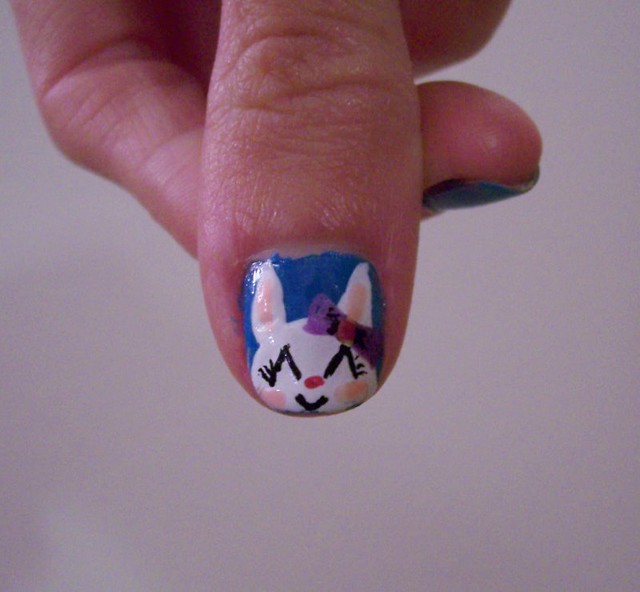
Misss Bunnny!
I drew her with my left hand, and damn, it was a little hard, and I made the eyes long, which I didn't like.
Oh well, the rest was easy to paint on, even the bow! :)

Sooo cuuute! ♥


I did my Easter nails on Friday, after I saw a cool Easter nail art tutorial on Thursday, and I really liked it, and decided to follow the tutorial. But on Friday, while doing my nails, I decided not to put bunnies on all fingers and rather just have it on my thumb nails, because my thumb nail is spacious and the rest of my finger nails are narrow, which can be hard to draw bunnies on. And on my ring finger I decided to paint on a decorated Easter egg. :D
On my left hand, I was going to do the same look as I did for my right hand but, I decided to change it up and have a GIRL BUNNY on my thumb nail, and for my ring finger I drew a hatched decorated egg with a chick in it! :D
Happy Easter to those that celebrate it! :)
♥Eliza


17 comments